DIY Bath Bombs and Homemade Face Masks for Kids

We make homemade face masks, DIY bath bombs, and lip gloss with the kids for a fun kid’s spa night at home! The best part about these homemade face masks is that they are only two ingredients. Made with only banana and honey these homemade face masks are all natural and easy to make at home with kids. They smell great too! We’ll also show you how easy it is to make your own bath bombs at home. A few simple and natural ingredients give you 4 beautiful bath bombs for less than $5. Everything can be purchased at your local grocery store or dollar store. We also found a fun DIY lip gloss kit for kids and the girls had a blast making their own lava lamp lip gloss. These homemade bath bombs and homemade face masks are great for a girl’s spa party too!

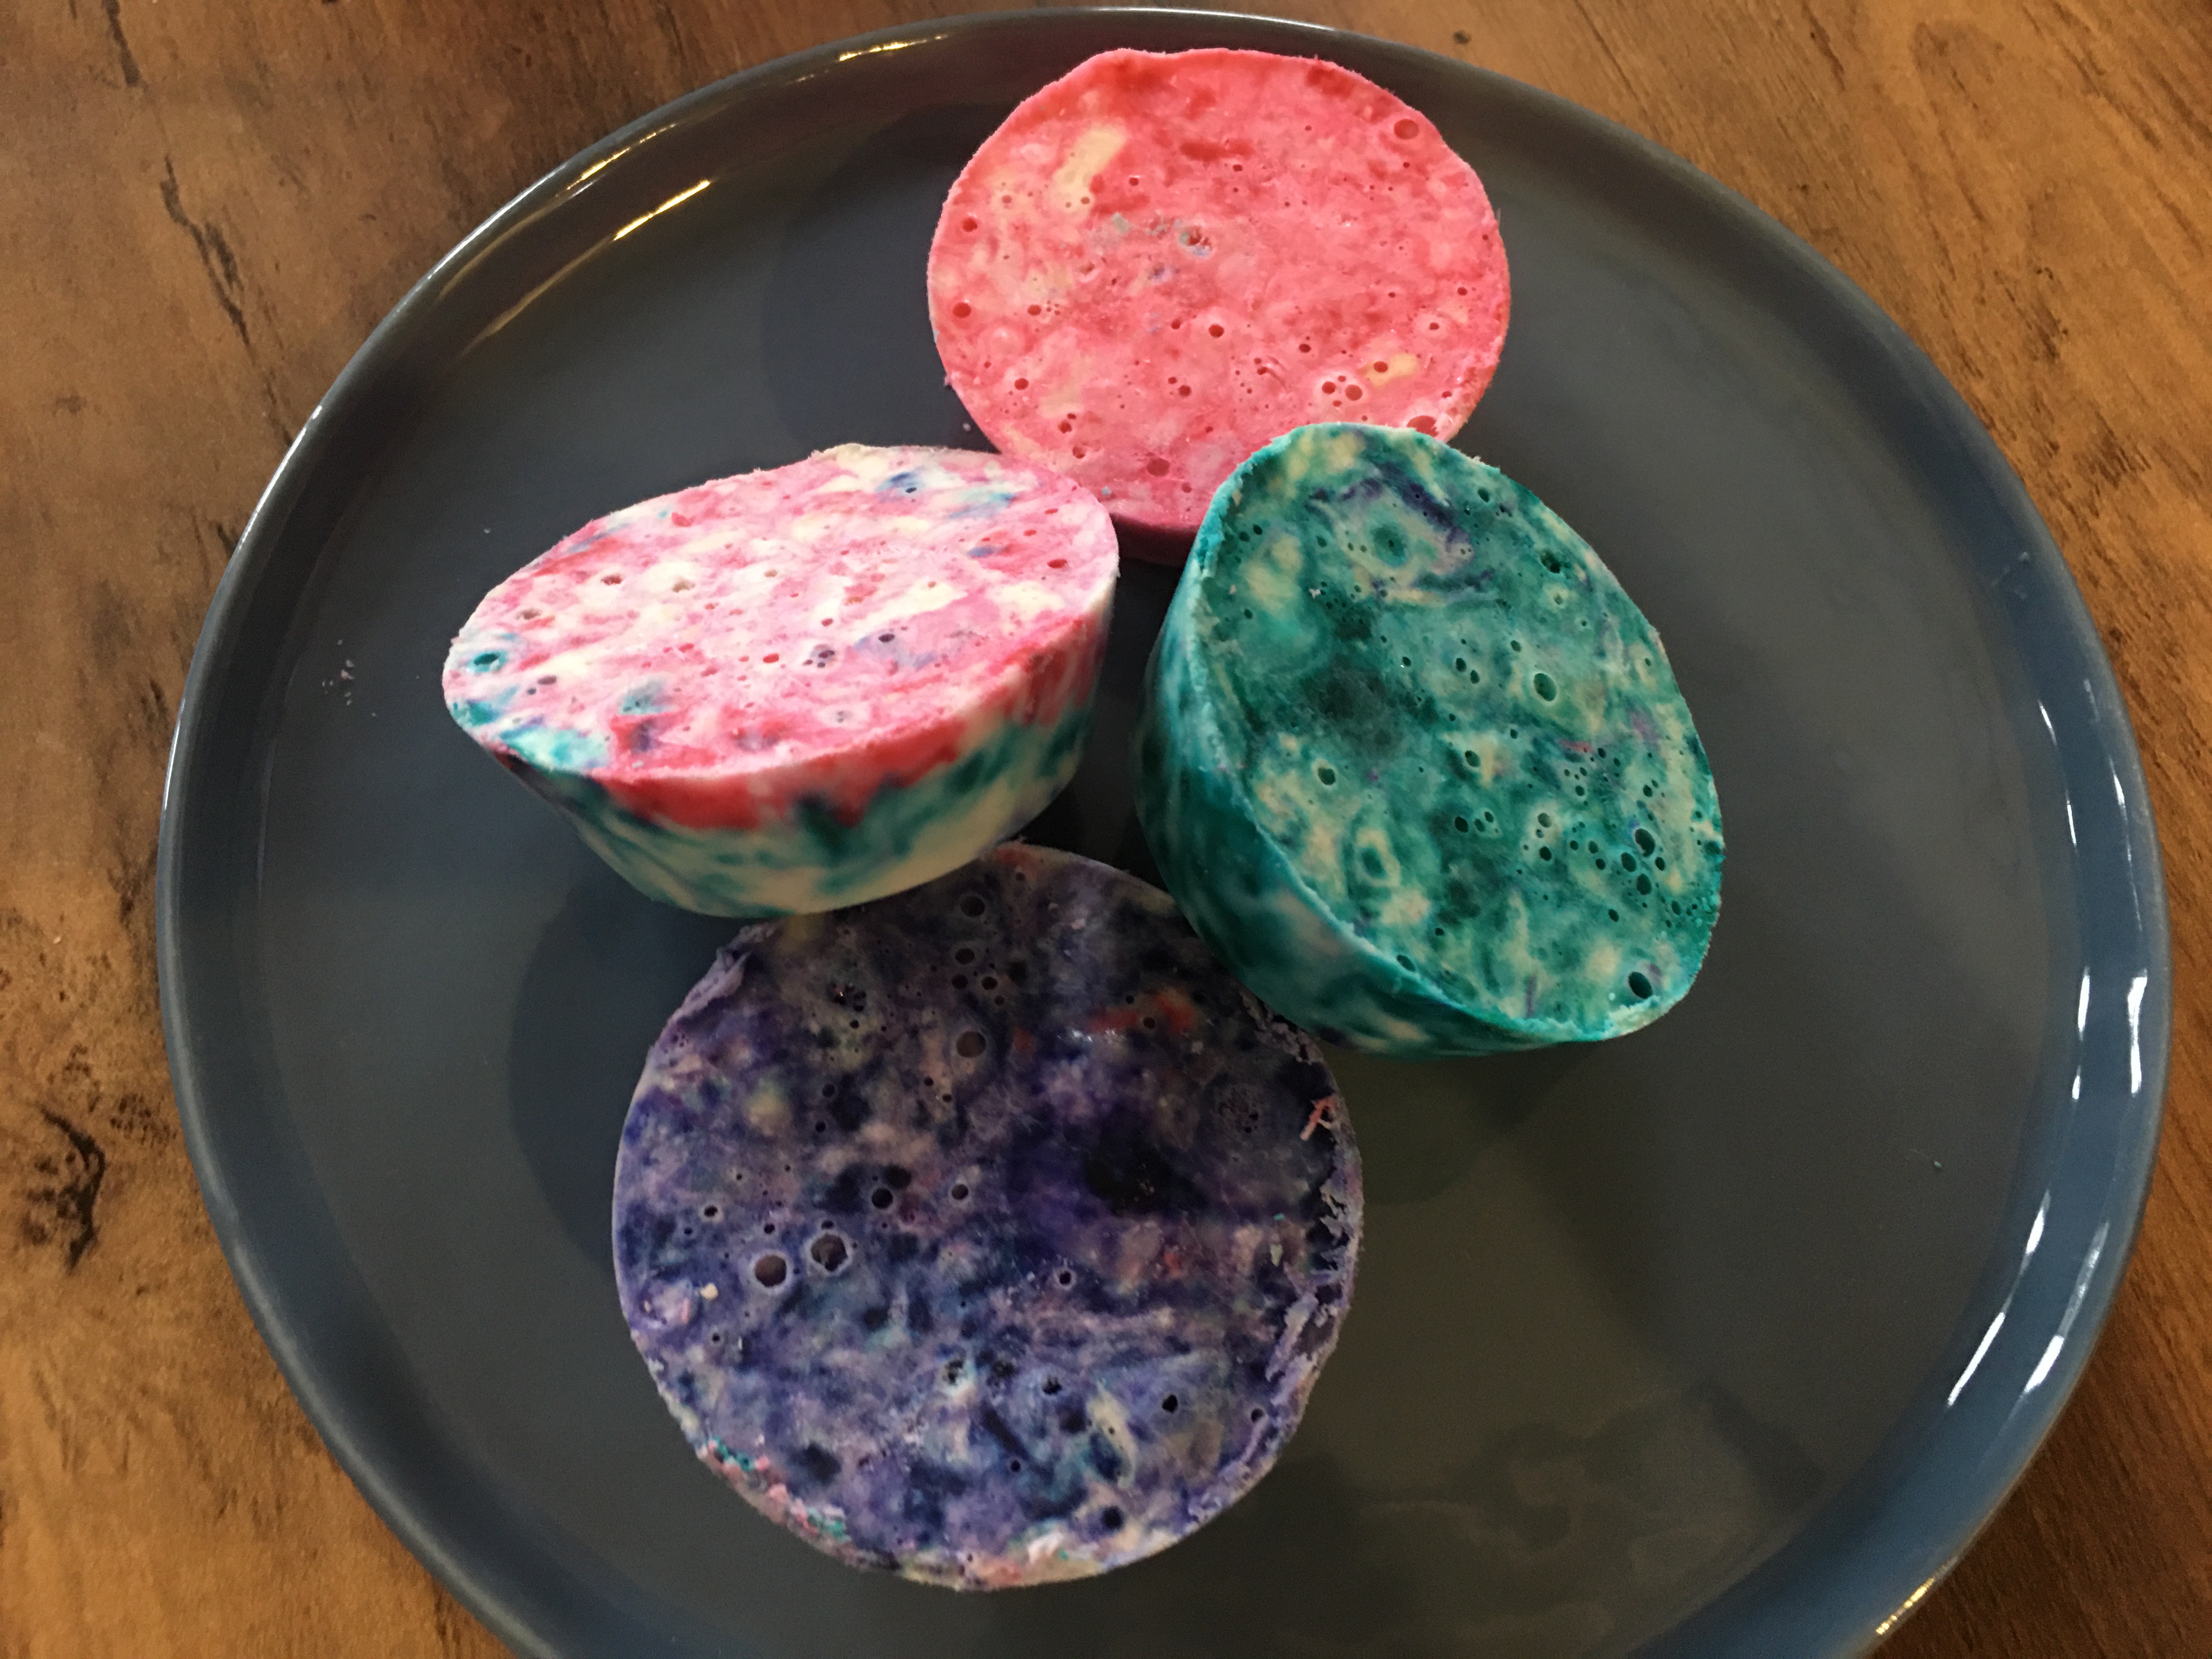
DIY Bath Bomb Recipe:

Ingredients

  • 1/2 cup Epsom salt
  • 1/2 cup of cornstarch
  • 1 cup of baking soda
  • 1 cup of lemon juice or citric acid
  • Food coloring of choice

Directions

  • Mix epsom salt, cornstarch, baking soda, and lemon juice into a bowl
  • Add 2-3 drops of food coloring..separate before you add food coloring to make different bath bombs of different colors
  • Form your bombs into a ball or put them in a muffin tray or silicone mold
  • Let bath bombs harden for 2-3 hours before use

Easy Banana Face Mask Recipe:

Ingredients

  • 1 Banana
  • 3 teaspoons of honey
  • 2 teaspoons of lemon juice

Directions

Mix the banana, honey, and lemon juice together. Mash and stir these together until your mixture is smooth. This will help the facemask apply easier to your skin. Let it sit on your face as long as desired and wash your face with a warm washcloth once you’re finished.

Tag us on social if you try any of these, DIY bath bombs, DIY face masks, or kids’ spa party ideas at home! #facemask #spa #kids #spanight #diyspa #diyfacemask #spaparty Subscribe for more fun crafting with kids Full recipe and instructions on madebykidsco.com. Thanks for watching!

**Subscribe: https://www.youtube.com/channel/UCH96...

face mask for clear & bright skin, face mask, face mask homemade, diy face mask, diy spa night, diy banana face mask, diy face mask, diy banana face peel, homemade bath bomb, bath bomb, how to make a bath bomb, kids bath bombs, bath bomb recipe, kids spa night, kids spa party, spa party ideas, spa party ideas for kids, kids spa party diy, kids spa party day, spa party day,

Cool Whip Easter Eggs

Make the prettiest Easter eggs ever with this super easy and kid-friendly Easter egg decorating idea! These eggs come out beautifully every time! This is such a fun Easter kids crafts and Easter sensory activity! The cool whip eggs are also completely edible for little egg decorators. Try a new Easter egg dying hack this year and think outside the store-bought box.

Ingredients

  • 12 hard-boiled eggs
  • White vinegar
  • 3 c. whipped topping
  • Food coloring

Directions

Step 1
Cook eggs in boiling water to make hard-boiled eggs.

Step 2
Place eggs in a large bowl and cover with white vinegar. Soak for 5 minutes, drain, and dry the eggs thoroughly. Vinegar helps the eggs hold their color.

Step 3

On a large plate or small baking sheet, spread your whipped topping in an even layer about 1/2” deep. Drop food color in single drops about an inch apart, in as many colors as you choose. Use a toothpick to swirl the colors to a marbled effect.

You can also use a muffin pan or bento box container to keep colors separate and dip eggs into each color.

Step 4

Roll eggs in whipped cream and let sit for 5 minutes. Kids can get messy but this is all a part of the fun! Remove eggs from whipped cream (you can also use latex gloves). Rinse the eggs with cold water. Let dry completely on a paper towel.


easter crafts, easter diy, diy easter, easter eggs, easter egg hack, easter egg decorating, easter egg crafts, easter 2023, easter egg craft ideas, easter egg how to video, how to dye easter eggs, how to dye easter eggs cool whip, cool whip easter eggs, tye dye easter eggs, rice easter eggs, easter egg rice decorating, how to decorate easter eggs with rice, easter egg crafts. easter egg sensory ideas, cool whip baby egg decorating, easter sensory play, easter sensory ideas, easter crafts, easter crafts for kids, easter kids crafts

Chocolate Easter Bunny Drinks

We’re serving up a fun and whimsical way to serve milk this Easter! Using a hollow chocolate bunny, you can serve milk, chocolate milk, strawberry milk, or even an adult beverage in a delicious chocolate bunny. Use a funnel to help pour your drink of choice into the bunny, top it with whip cream, and sprinkles, and enjoy!

This is a fun and easy way to serve up a festive Easter bunny mocktail, Easter punch, or kid-friendly Easter drink!

Chocolate Easter Bunny Drink Recipe

Ingredients:

Directions:

  • Unwrap the top half of the 7oz chocolate bunny
  • Leave the bottom wrapped to prevent chocolate from melting on hands
  • Cut off the top of the bunny ears
  • Prepare your milk (plain, chocolate, or strawberry)
  • Pour about 1/2 a cup of milk into the hallow bunny using a funnel
  • Top off the bunny with whip cream
  • Add sprinkles and a straw!

#easter, #mocktail, #recipes, #kidsfun, #lindt, #lindtchocolate, #mocktailrecipes, #kidsdrinks, #kids, #easter2023, #chocolate, chocolate bunny drinks, chocolate bunny drink recipe, easter mocktails, easter drinks, kids easter punch, kids easter drink, chocolate bunny drink recipes, chocolate bunny milk, chocolate bunny recipe, chocolate easter bunny, easter bunny, easter chocolate, easter recipes, easter, kids easter, kids easter craft, kids easter idea, easter 2023, lindt, lindt chocolate bunny, hallow chocolate bunny, chocolate bunny ideas, easter ideas

Easter Brunch Board We Make an Easy Easter Bunny Brunch Board for Kids! 🐰 Kids Easter Charcuterie

This Easter, I’m serving a fun and easy Easter Bunny Brunch Board for kids! With kid-friendly mini pancakes, waffles, fruit, Easter sweets, and Easter candy, there is something every little Easter bunny will love! There are also veggies, deviled eggs, a deviled egg dip, and more for the adults! Watch until the end for my favorite bacon hack making bacon in the oven! Check out the full list of what is on the Easter charcuterie board, recipes, and more fun for kids! Subscribe and like this video for more Easter fun coming up cooking, celebrating, and crafting with kids! #easter #kidseaster #easterbrunch #recipes #easterrecipes #easterbunny #charcuterie #easterrecipe

Kids Easter Brunch Board Ideas:

  • Pancakes
  • waffles
  • fruit
  • syrup
  • veggies
  • bacon/sausage
  • toast
  • deviled eggs
  • egg salad
  • Easter candy
  • Easter peeps
  • Cheese
  • Ham, salami, pepperoni
  • Easter cookies
  • Cinnamon Rolls
  • Breakfast bread loaves
  • chocolate bunnies

Easter with kids, kids Easter, Easter brunch, Easter bunny brunch, Easter recipes, Easter kids recipe, kids cooking, Easter 2023, Easter kids recipe, recipes for kids, kids Easter recipe, recipes for kids, kids Easter ideas, easter kids ideas, kids easter menu, easter brunch, easter brunch board, easter brunch recipes, easter breakfast, easter brunch for kids, kids easter menus

Corned Beef Slider Recipe

Corned beef has become a St. Patrick’s Day staple in America. The salty meat is a delicious treat any time of the year but around St. Patrick’s Day, more corned beef briskets are cooked than any time of the year. If you’re hosting a St. Patrick’s Day party, these corned beef sliders are sure to be a hit! They are easy for guests to grab and go and they are a delicious way to eat corned beef.

Corned Beef Ingredients:

  • 3 pounds corned beef brisket with spice packet
  • 3 bay leaves
  • 1 teaspoon of black peppercorn
  • 5 tablespoons of spicy mustard

Directions:

  1. Place corned beef in a large pot or Dutch oven and cover with water. Add the spice packet that came with the corned beef, bay leaves, and peppercorn. Cover the pot and bring to a boil, then reduce to a simmer. Simmer for approximately 50 minutes per pound or until tender. A 3-pound brisket will take about 3 hours to cook and become tender. You want the meat to fall off and shred easily.
  2. Remove meat from the water and place in an oven-safe dish,  take a cup or 2 of meat broth and place in the pan with the meat (keep the rest of the broth in the pot on low heat). Spread mustard over the top of the meat and place in the oven for 15-20 minutes at 350, until the top is slightly browned. (Tip: I also spoon liquid over the meat once or twice while it’s in the oven to keep it from getting dry)

Corned Beef Slider Ingredients:

  • 1.5 cooked corned beef
  • 1 package of Hawaiin rolls
  • 3/4 a pound of thinly sliced swiss cheese
  • 1/2 cup of thousand island dressing
  • 1/2 cup of sauerkraut

Melted Butter Sauce Ingredients:

  • 1/2 cup (1 stick) unsalted butter, melted
  • 1 tablespoon dijon mustard
  • 1 tablespoon of plain mustard
  • 1 tablespoon sesame seeds poppy seeds
  • 2 teaspoons Worcestershire sauce
  • 1/4 teaspoon salt, or to taste
  • 1/4 teaspoon pepper, or to taste

Corned Beef Slider Directions:

  • Once the corned beef is cool shred it with a fork and knife
  • Fill a casserole pan with Hawaiian rolls (how many will depend on the size of your pan)
  • Slice the Hawaiin so that the tops open like a book
  • Spread corned beef evenly onto opened Hawaiian rolls
  • Add slices of Swiss cheese
  • Add sauerkraut
  • Add thousand island dressing
  • Top again with more slices of Swiss cheese
  • Place the top of your rolls back onto the slider
  • In a small bowl add melted butter, both mustards, sesame or poppy seeds, Worcestershire sauce, salt, and pepper
  • Mix the sauce ingredients well with a fork
  • Brush the sauce mixture evenly on top of the slider bins
  • Place the sliders into the oven at 375 degrees until golden brown
  • Slice the sliders and place onto a platter and enjoy